Lesson Three
 |
 |
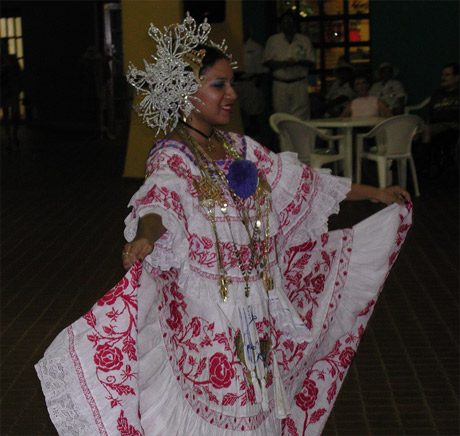
— Panamanian Dancer —
The original photograph out of the camera.
If this were film it would have been in the trash. |
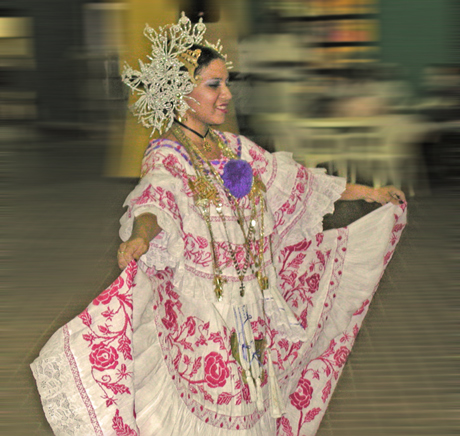
— Not Perfect but Better —
Auto Smart Fix, Adjust Smart Fix, Auto, Photo Filters: Warming 81, Density 50%.
Hue/Saturation, Red Channel +20, Yellow Channel -10.
Applied a Gaussian Blur of 1 px to smooth out skin tones then created a new layer of the junk in the background to apply Motion Blur creating the sense of movement. |
 |
|

|
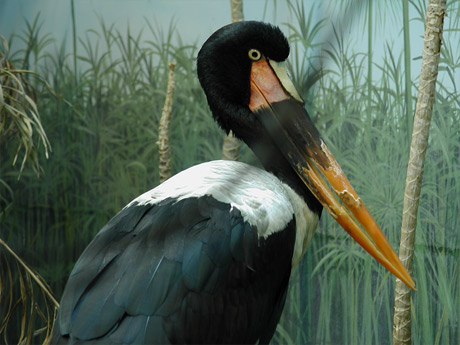
The original photograph out of the camera.
Not much to do here. |
Applied the Warming filter (85).
Then corrected the white point. |
|
|
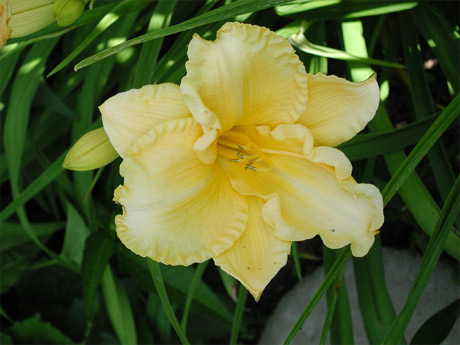
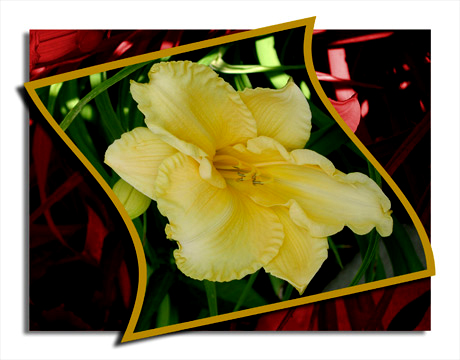
The original photograph out of the camera. |
Spot removal with healing tool and clone tool.
Applied Deep Yellow filter, 25%.
Increased canvas size to allow space to free transform the outlined and distorted flower.
Created a copy layer of the background and adjusted the Hue/Saturation on Green channel to produce the reddish-pink background.
Finally on flattened image, adjusted Brightness by minus 15 and Contrast by plus 13. |
Lesson 1Lesson 2Lesson 3Lesson 4Lesson 5Lesson 6
Imaging and Art


